

Fertilising without knowing what is in the soil is like prescribing without a diagnosis. A soil test on a golf course provides the starting information to adjust nutrition, correct pH or salt problems and understand why one green responds differently from another. Done well, it saves product and avoids costly mistakes.
In this article we review six parameters that matter, how to take representative samples, how often to repeat the test and what precautions to take when interpreting results so that they turn into useful decisions on the course.
Before the Soil Test: How to Take a Good Sample
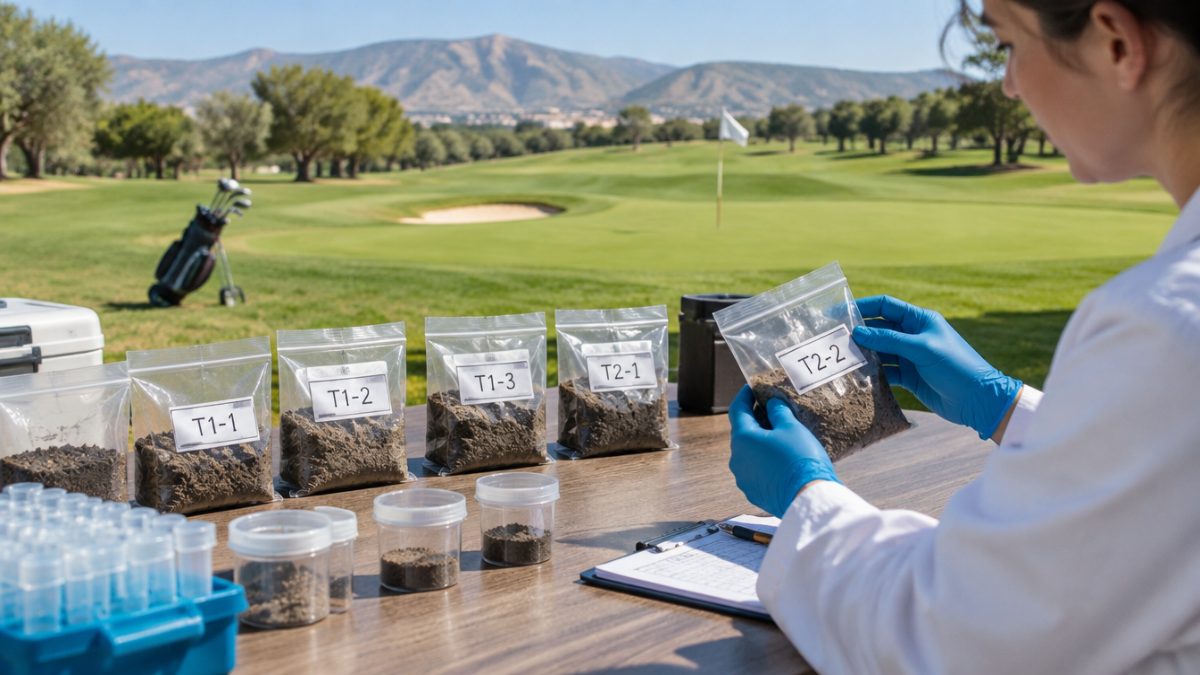
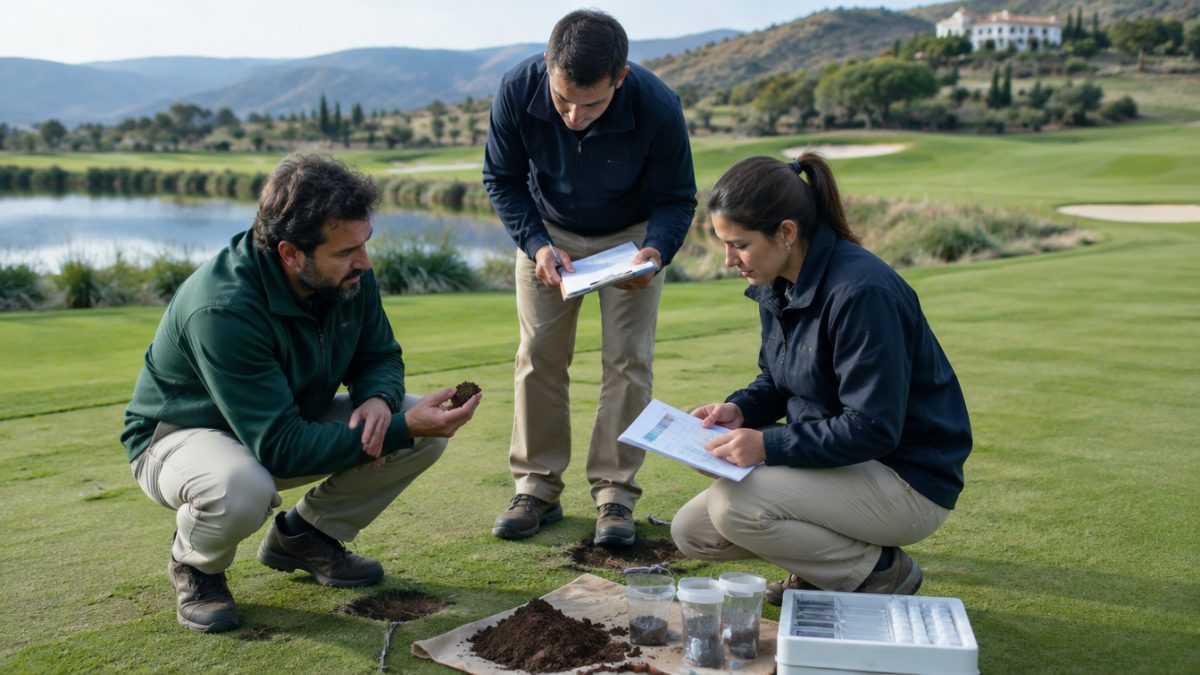
Even the best laboratory cannot fix a bad sample. The quality of a golf course soil test depends on how the material is collected, and that is where most mistakes are made.
- Define sampling units: separate greens, tee boxes, fairways and rough, and do not mix soils of different origin.
- Take several sub-samples: on each surface, at different points, and mix them to obtain a representative sample.
- Respect the depth: on greens and tee boxes, the shallow root zone; on fairways, the layer where roots concentrate.
- Avoid atypical areas: edges, diseased or recently treated areas, unless you specifically want to study that spot.
- Label and store properly: clear identification and prompt delivery to the laboratory.
It is best to repeat sampling at the same points and at the same time of year so you can compare results between seasons. Mark those points on a plan or with a fixed reference: two years later nobody will remember where each sub-sample was taken, and a comparison between different points is worthless.
Parameter 1: pH, the Marker That Governs Nutrient Availability
pH influences the availability of many nutrients and the biological activity of the soil. An off-target value can lock up elements that are actually present, so adding more fertiliser solves nothing.
In a golf course soil test, look at pH together with the alkalinity of the irrigation water, because the two interact. In Mediterranean climates, with hard water and calcareous soils, high values are common and call for gentle acidification strategies with monitoring, never abrupt corrections.
Parameter 2: Electrical Conductivity and Salinity
Conductivity indicates how many salts are in the soil. Excess makes it harder for roots to take up water, causes apparent drought stress and can leave whitish crusts. It is especially relevant when irrigating with reclaimed or low-quality water, and one of the most common reasons for requesting a golf course soil test outside the usual schedule, for example after a summer with little rain.
- Compare the value with that of the irrigation water to understand where the salts come from.
- Consider the need for periodic leaching, provided the profile drains well enough.
- Watch sodium, which besides salinity can damage soil structure.
Parameter 3: Texture and Organic Matter
Texture defines how the profile holds and moves water. In native soils it is worth knowing the proportions of sand, silt and clay; in sand-based greens, the fines content and how organic matter changes over the years.
A golf course soil test that includes organic matter helps you decide the pace of aeration and top-dressing. If it accumulates faster than it is diluted, the profile holds too much water and loses porosity. If it is low in native soils, management that improves structure and biological activity may be worthwhile.
Parameter 4: Macronutrients (Phosphorus, Potassium, Calcium and Magnesium)
In a golf course soil test, the levels of these elements let you adjust the fertiliser programme to what the soil really needs. You do not always need to apply all of them; on many older courses there is plenty of accumulated phosphorus, and continuing to add it is wasted money.
- Compare results with the reference ranges given by the laboratory.
- Consider the soil type: in sand, nutrients leach quickly.
- Assess the balance between calcium, magnesium and potassium, as well as each value on its own.
With that data, the fertiliser plan stops being a calendar copied from another year and becomes a strategy adapted to each surface.
Parameter 5: Micronutrients and Sulphur
Iron, manganese, zinc, copper or boron are needed in small amounts, but a deficiency or excess shows in the colour and vigour of the turf. Sulphur also deserves attention, especially in sandy soils.
A practical warning: micronutrient values depend heavily on pH and on the extraction method. Interpret them with caution and, if in doubt, rely on an agronomic adviser before applying corrections. A golf course soil test provides clues, not verdicts.
Parameter 6: Cation Exchange Capacity and Structure
Cation exchange capacity indicates how much of the positively charged nutrients the soil can hold. In sand greens it is low, which explains why fertiliser should be split into small, frequent applications.
Alongside it, assess structure and infiltration, which do not always appear in a basic laboratory report. A soil profile pit and a simple infiltration test complement the analysis and prevent wrong conclusions, especially in old profiles that have changed over the years and whose real behaviour no longer matches the original design. After that, the work is in recording and comparing, because the value of a golf course soil test grows with the length of the record:
- File each report with date, area and sampling point.
- Repeat the golf course soil test once a year, or more often on greens and problem areas.
- Cross-reference results with the work carried out to see what effect it had.
Further reading: FAO. The FAO publishes accessible guides on soil sampling, analysis and interpretation applicable to agronomic management.
Frequently asked questions
How often should you run a soil test on a golf course?
As a general reference, once a year on each surface, always at the same time of year and at the same points so results can be compared. On greens or problem areas it may make sense to repeat it more often. What matters is keeping an orderly historical series to detect trends and assess the effect of management.
Does a golf course soil test replace observing the turf?
No, they complement each other. The test gives objective data on nutrients, pH or salts, but the turf shows symptoms that must be interpreted in the field. The best decision combines laboratory results, soil pits, observation and the team's experience. If in doubt, an agronomic adviser can help cross-check all the sources of information.
What should I do if the soil test shows values out of range?
Do not correct all at once. Confirm the result with a second sample, review the water quality and recent operations, and plan gradual corrections adjusted to each surface. Any amendment or product must be applied following the label, current regulations and the advice of an authorised technician.
Keep reading
- Turf fertilisation step by step Turf Fertilisation: 6 Guidelines by Season
- Irrigation water salinity Irrigation Water Salinity: 6 Control Measures
- Building USGA greens USGA Green Construction: 6 Keys to the Layered Profile