

When a green does not drain, becomes waterlogged or compacts, the greenkeeper can apply patches for years, but the cause is usually underground and was decided on the day of construction. That is why USGA green construction remains a central topic: a well-designed and well-executed profile saves decades of problems.
We review six keys of layered USGA green construction, explained from the point of view of whoever will have to maintain them afterwards. They are no substitute for a technical specification or an engineering project, but they help you ask the right questions before starting a build or a renovation.
USGA green construction: what a layered profile is and why it works
The underlying idea is simple: create an engineered profile in which water passes quickly through the root zone but enough is retained for the plant. When it rains heavily, the excess must leave through the bottom; when you irrigate, the mix must hold useful moisture.
The classic profile includes, from the bottom up:
- A subgrade shaped with slopes that favour water removal.
- A drainage network of pipes set within a gravel layer.
- In some designs, an intermediate layer that prevents sand from migrating into the gravel.
- The rootzone mix, sand-based, where the turf grows.
USGA green construction rests on each layer playing a role and on the materials meeting physical requirements verified in the laboratory.
Key 1: The subgrade and the slopes of the base
In USGA green construction, the first thing done is the part that is seen least. The base must be shaped to the form of the finished green, or to a form that follows its slopes, so that the thickness of the layers is uniform and drainage works the same across the whole profile.
A poorly compacted base can settle over the years and cause depressions or puddles. It is worth demanding correct compaction, checking levels by survey and not starting to spread the layers until the base has been verified. Any error here is carried through the rest of the build.
Key 2: Internal drainage in USGA green construction
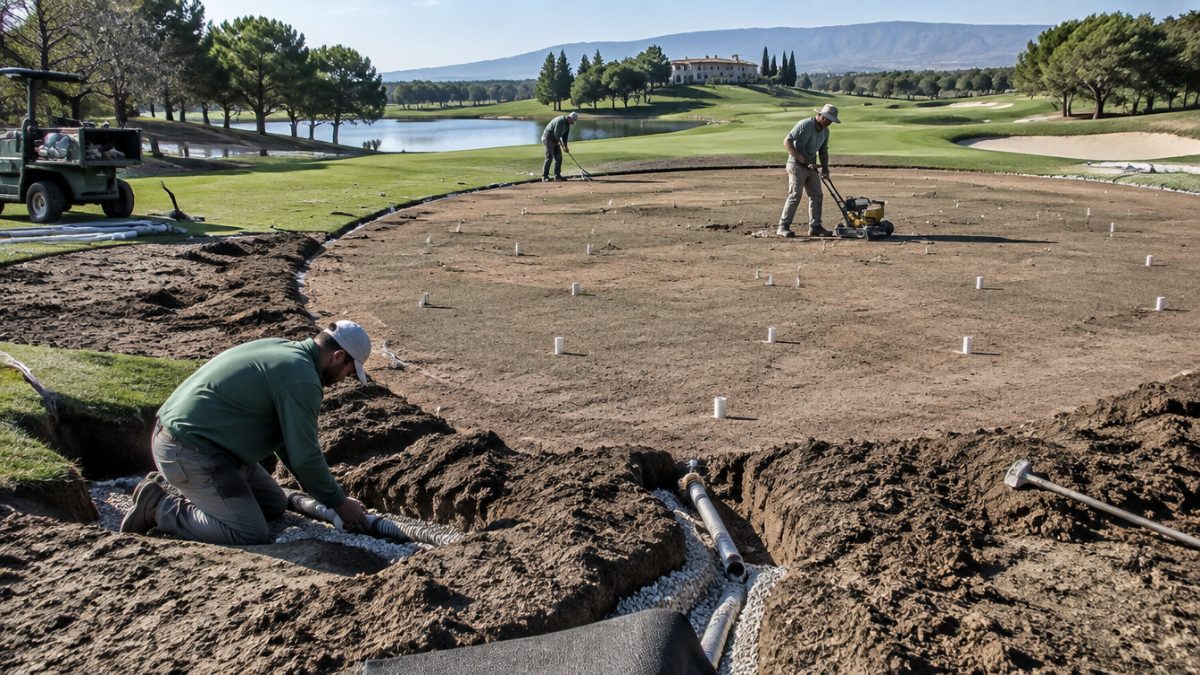
Drainage is the soul of USGA green construction. The pipes must be laid with a continuous gradient, with a layout suited to the size and shape of the green, and with an outlet that really removes the water without build-up.
- Check that each line has a free outlet and an accessible inspection point.
- Take care over the gradient to avoid flat sections where water collects.
- Protect the system from fines or roots entering during construction.
A drain that cannot be inspected or cleaned becomes, in time, a hidden problem.
Key 3: The gravel and the intermediate layer
The gravel layer surrounds the pipes and makes it easier for water to enter. Its particle size must be chosen to be compatible with that of the rootzone mix, to prevent the sand from migrating into the gaps in the gravel and clogging the system.
Depending on the design, an intermediate layer may be included to act as a bridge between the two. The decision depends on the properties of the materials and on the recommendations of the laboratory and the designer. What matters is that compatibility between layers is verified by testing, not assumed by intuition.
Key 4: The rootzone mix, the heart of the green
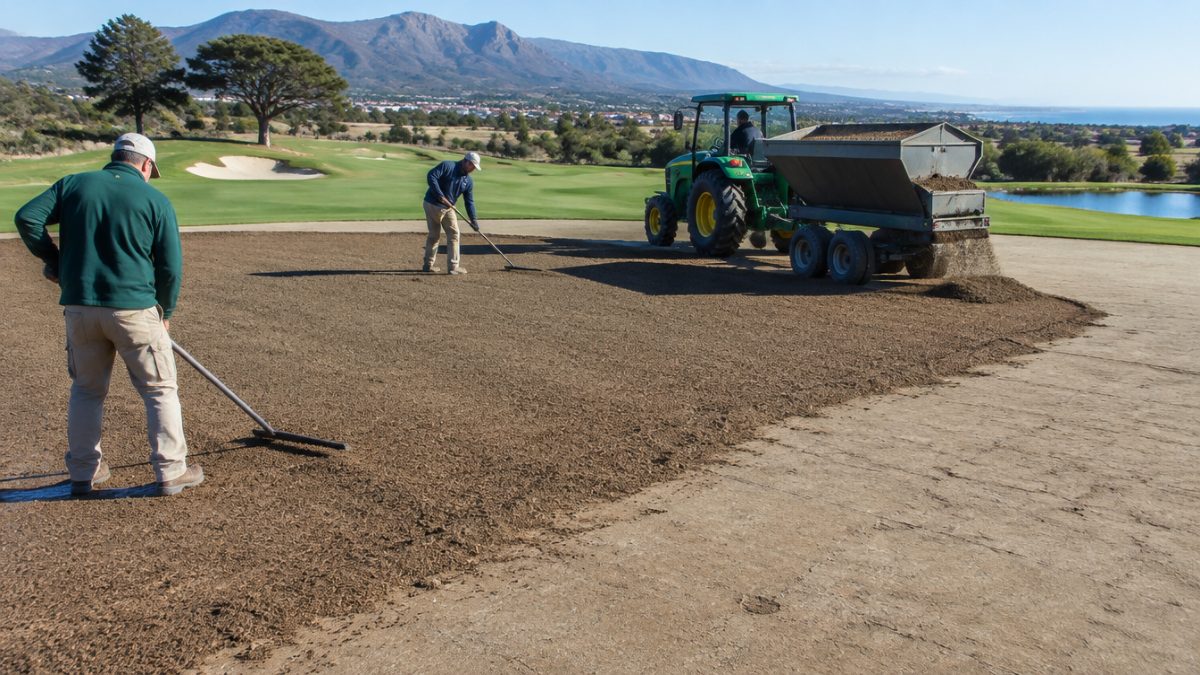
The rootzone mix is what the turf will experience throughout the life of the green. It is usually made of sand with controlled particle size, with or without organic or inorganic amendments, and must balance infiltration, water retention, aeration and stability.
Some practical ideas:
- Always have sand samples analysed in the laboratory before buying the full volume.
- Ask for a homogeneous mix and avoid segregation during transport and spreading.
- Keep reference samples from each batch in case of later doubts.
- Avoid contamination with soil from the surroundings during spreading.
The budget saved on the mix is usually paid back later in irrigation, aeration and replacement.
Key 5: Spreading, levelling and establishment
A good material can be spoiled during spreading. Working with light machinery, avoiding excessive compaction and checking thicknesses at several points are basic guidelines. The final surface must be uniform and respect the slopes of the design, because they are what give the green its character of play.
Then comes turf establishment, whether by seed, sod or stolons, depending on the species. This stage sets the basis of future management: a frequent, light irrigation programme at first, starter fertiliser and close monitoring of root development. Bringing forward the opening for play is tempting, but it almost always backfires.
Key 6: Ongoing maintenance and quality control
A green resulting from USGA green construction needs management consistent with its profile. Being sandy, it has little buffering capacity, so irrigation and nutrition require more finesse than on a natural soil. It is also worth continuing with periodic tests of infiltration and organic matter to detect thatch build-up before it becomes a problem.
Always ask for a construction dossier: final drawings, test results, drainage layout and materials used. It helps diagnose future problems and plan renovations. Documenting the profile is an investment you will be thankful for in ten or twenty years.
Finally, a recommendation for anyone facing their first build: visit courses with greens built some time ago and ask their greenkeepers what they would have done differently. That conversation is worth more than many catalogues, and often reveals details of USGA green construction that only show up after years of use.
Further reading: USGA. The USGA publishes technical recommendations and resources on green design and construction that form the basis of this method.
Frequently asked questions
Is USGA green construction still valid today?
Yes, it is still widely used as a technical reference, although there are variants and adaptations depending on climate, materials and budget. The essential thing is to respect the logic of USGA green construction: a layered profile, effective drainage and a tested rootzone mix, always with the advice of a specialised designer.
How long should you wait before opening a newly built green?
There is no universal timeframe: it depends on the species, the climate, the establishment method and the expected play pressure. The practical rule is to open when cover is complete, the roots are well developed and the surface withstands traffic without damage. Rushing usually prolongs the problems.
Can an old green be rebuilt following USGA green construction?
It is possible, and it is one of the usual reasons for full rebuilds of greens with poor drainage. Before deciding, it is worth diagnosing the existing profile with test pits and analyses, weighing less drastic alternatives and calculating the total cost, including the time the green is closed during the work.
Keep reading
- Thatch on greens: warning signs and how to reduce it Thatch in greens: 6 warning signs and how to reduce it
- USGA Green Section: useful resources for greenkeepers USGA Green Section: 5 useful resources for greenkeepers
- Complete guide to turf maintenance on golf courses Complete guide to turf maintenance on golf courses