

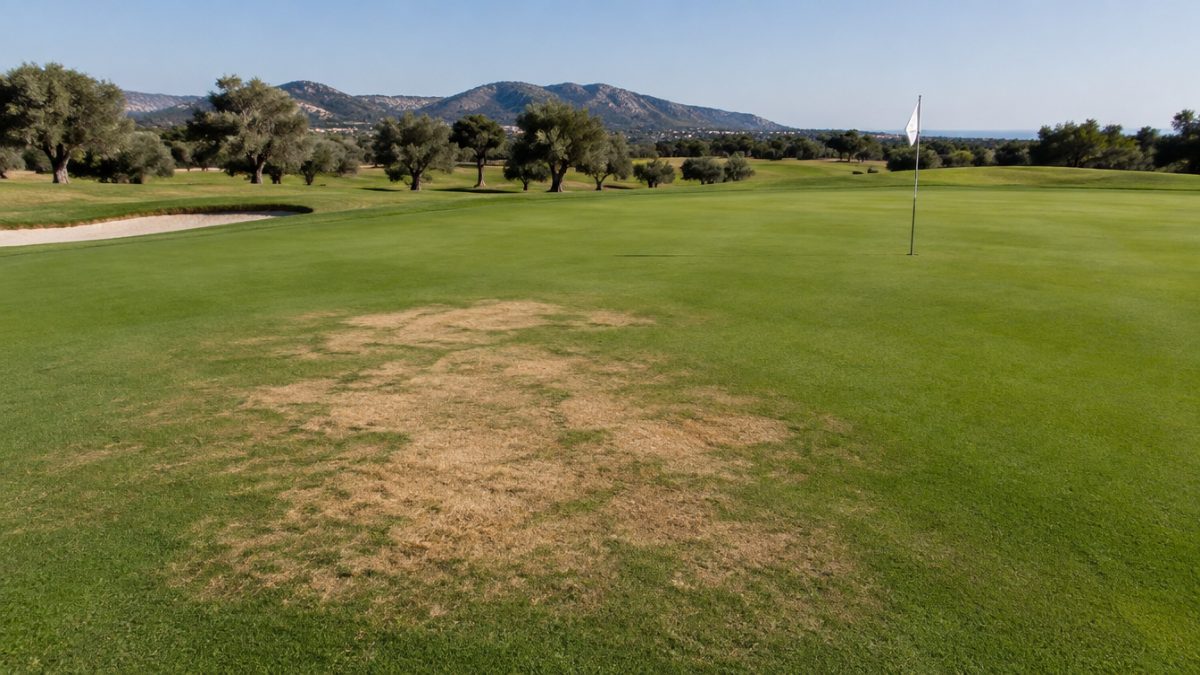
Many greenkeepers know the scene: a zone that seems well watered, with yellow patches a few metres from a puddle. Irrigating more does not fix it, because the problem is not total volume but irrigation uniformity, that is, how evenly the water reaches each point of the turf.
Measuring it does not require sophisticated equipment. We present five tests, from least to most effort, to assess irrigation uniformity on greens, tee boxes, fairways and rough, interpret the results and decide what to correct: nozzles, spacing, pressures or scheduling. With a well-done measurement, the adjustment usually saves water and improves the turf at the same time.
Test 1 to Measure Irrigation Uniformity: Observation in the Field
Before putting out a single cup, walk the zone with irrigation running and with the turf already stressed. Dry areas, puddles and colour changes draw a fairly reliable uniformity map.
- Mark the dry and wet spots with flags or photographs with a reference point.
- Note whether problems coincide with the joins between sprinklers, with the areas furthest from the head or with the edges.
- Check there are no obstacles: shrubs, trees or banks that deflect the stream.
This test is free and quick, and it usually shows where it is worth measuring in more detail. It also helps with prioritising: start with the zones where the defect affects play.
It is worth doing the round more than once and at different times, because afternoon wind, mains pressure at peak hours or an overlapping schedule can reveal irrigation uniformity problems that do not show up at dawn. A good field report notes the time, the approximate wind direction and which zones were irrigating at the same time.
Test 2: The Catch-Can Test with Cups or Rain Gauges Laid in a Grid
This is the classic irrigation uniformity test. Place identical containers, with their openings at the same height, in a regular grid between several sprinklers. Run the zone for a fixed time and measure the volume collected in each container.
- Use containers of the same size and place them at regular distances.
- Choose a day with little wind: wind distorts the results.
- Irrigate for a measured time, for example between fifteen and thirty minutes, depending on flow.
- Note the volume in each container and its position on a sketch.
With the data you can calculate the average and compare the lowest quarter of points with the overall average. The smaller the difference, the more uniform the distribution. You do not need a complex formula to see whether there is an obvious problem. If you also draw the result on a colour-coded sketch, patterns appear that numbers do not show: a corner that always gets less, a strip between sprinklers or a head that overloads its surroundings. That picture is the basis for explaining irrigation uniformity to the rest of the team.
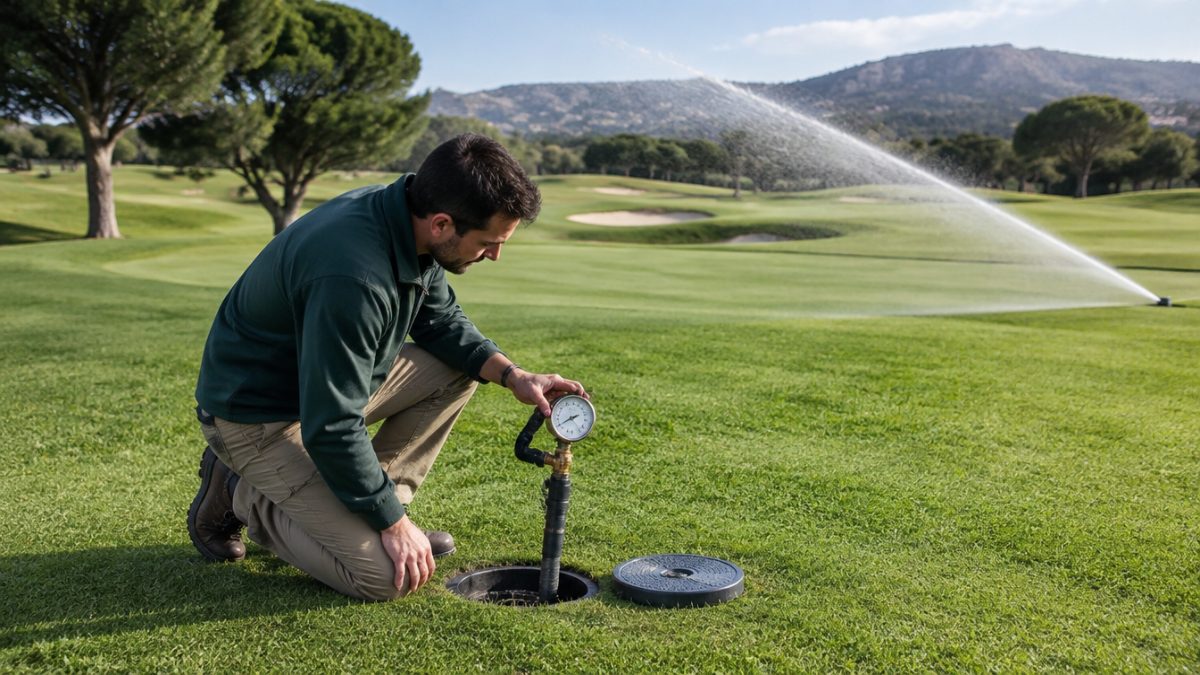
Test 3: Check Pressure and Flow at Different Points on the Line
Often a lack of uniformity comes from inadequate pressures. A sprinkler at low pressure reaches less and leaves dry strips; one at high pressure atomises the water into fine droplets that the wind carries off. Measure the pressure at the sprinkler, not just at the head end, and compare it at several points on the same line.
A significant drop between the first and last sprinkler on a line points to head losses through undersized pipes, blocked filters or partly closed valves. Correcting this improves irrigation uniformity without touching a single head. Always note the date, zone and conditions, so you can compare after repairs.
Test 4: Review Nozzles, Overlap and Spacing
Uniformity also depends on design. Sprinklers must overlap enough that the edges of each fan receive water from their neighbours. If the spacing is too large for the model and pressure, dry strips appear between heads, whatever the irrigation time.
- Verify that all the nozzles in a zone are the same type and size.
- Check that the arcs and rotation sectors match the intended area.
- Observe the actual overlap with irrigation running, not just the one planned on the drawing.
When a zone mixes different, worn or blocked nozzles, the distribution falls apart even if the design is correct. A systematic inspection often corrects a good part of the problem without construction work.
Test 5: Validate the Result with the Turf and the Soil
The last test checks what was measured against the reality of the turf. After correcting pressures or nozzles, watch for a few weeks whether the dry patches disappear and whether soil moisture is distributed better. A moisture probe, a simple soil plug taken with a hand probe or feel at depth all provide useful information.
Compare several points in the same zone: if the moisture is similar, irrigation uniformity is good in practice. If differences persist despite good irrigation uniformity as measured with cups, there may be other factors: compaction, a different soil type, slope or sun exposure. In that case, management should also be adjusted, with aeration or specific scheduling by zone.
How to Interpret the Results and Record Irrigation Uniformity
A single test is worth little; a series of tests shows trends. Note on a record for each zone the date, method, conditions, results and corrections made. Repeat the measurement after each major repair and, as a guide, at least once a season in critical zones.
With that data you can prioritise investments with sound criteria: which zones deserve new sprinklers, which only need cleaning and where a scheduling adjustment is enough. You will also be able to explain to management why a specific action saves water. A typical example: a green with three recurring dry spots that, after replacing two worn nozzles and correcting the pressure, no longer needs extra hand watering.
- A sketch with the points measured.
- The approximate percentage difference between areas.
- The corrective action and its effect on the next measurement.
Further reading: Irrigation Association. The Irrigation Association gathers general documentation on irrigation audits and uniformity evaluation in sprinkler systems.
Frequently asked questions
What is irrigation uniformity?
It is how evenly water is distributed over the irrigated surface. If a zone has points that receive much more than others, irrigation uniformity is poor, even if the total volume is right. The consequences are dry patches, waterlogged areas, higher water use and uneven turf.
How often should irrigation uniformity be measured?
As a guide, once a season in critical zones such as greens and tee boxes, and always after repairs, nozzle changes or pressure modifications. On the rest of the course, periodic checks and a measurement when symptoms appear are enough, such as recurring dry patches or puddles with no clear cause.
Can I measure irrigation uniformity without expensive equipment?
Yes. With identical cups or rain gauges, a measuring tape, a stopwatch and a notes sheet you can assess a zone. The important thing is to lay the containers in a regular grid, choose a day without wind and repeat the test under the same conditions after each adjustment.
Keep reading
- Irrigation audit Irrigation audit: 7 steps to detect water losses
- Sprinkler maintenance Sprinkler Maintenance: 8 Key Inspection Tasks
- Soil moisture sensors Soil Moisture Sensors: 6 Key Uses in Golf