

On many courses, fertilising is decided each year based on what was done the year before, the supplier’s offer or the urgency of the moment. A well-designed golf course fertiliser programme changes that: it turns fertilising into a strategy with objectives, a calendar and tracking of results.
We suggest five steps to build one, from the initial diagnosis to the end-of-season review. We will not give specific rates or products, because they depend on each soil and each turf, but we do offer a method you can apply on your course with the help of your technical adviser.
Step 1: Diagnose the Course's Starting Point
A golf course fertiliser programme without a diagnosis is a gamble. Before defining anything, gather the information you already have and fill in what is missing:
- Soil tests: pH, conductivity, organic matter and nutrients for each surface.
- Irrigation water quality: it contributes salts and bicarbonates that affect nutrient availability.
- Fertiliser history: what was applied, when and with what result.
- Species and varieties: a bermudagrass fairway does not need the same as a bentgrass green.
With that base you can begin to see the differences between areas. When starting a golf course fertiliser programme it is very common to discover that the whole course is fertilised the same way while real needs differ widely between greens, tee boxes, fairways and rough.
Step 2: Set Objectives for Each Surface
The golf course fertiliser programme must answer a playing objective, not a generic recipe. You do not expect the same from a green as from the rough.
- Greens: a uniform, dense and stable surface, with controlled growth to maintain speed.
- Tee boxes: good recovery from divot wear.
- Fairways: cover and traffic tolerance, at a controlled cost.
- Rough: minimum maintenance that meets the agreed standard.
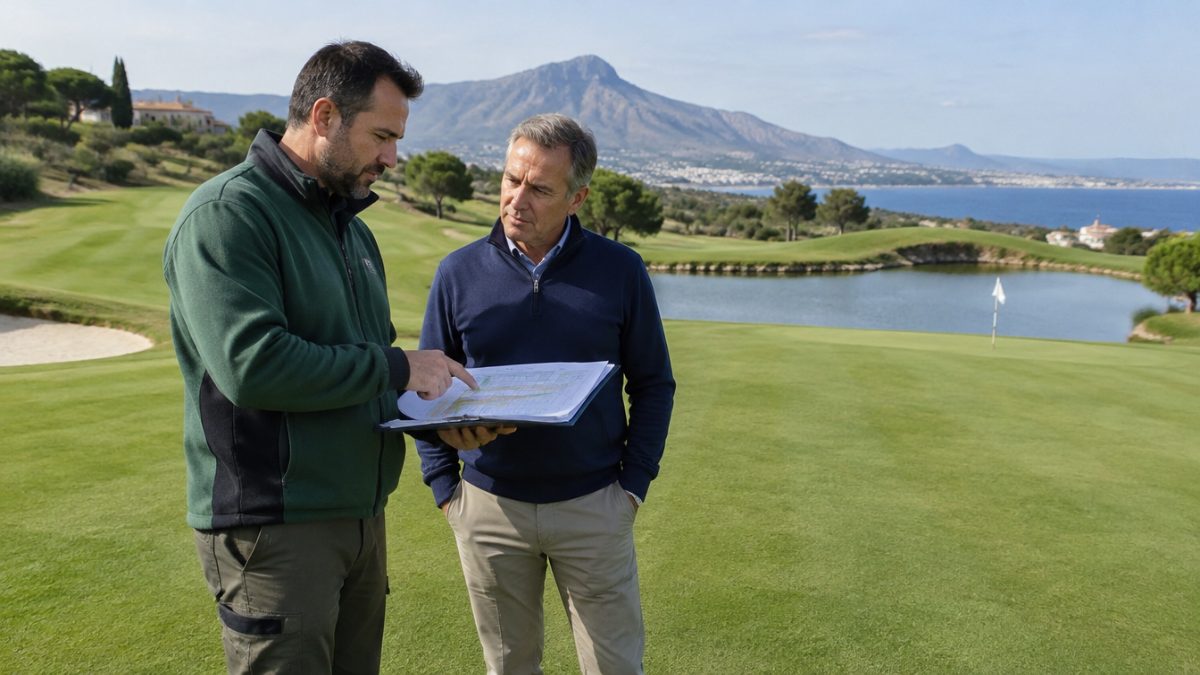
The clearer the objective, the easier it is to decide how much nutrient, how often and in what form. It also makes it easier to explain to the greens committee and management. A typical example: a club that wants faster greens in summer but fertilises tee boxes by the same criteria as fairways ends up with excess growth where it does not want it and shortfalls where it does. Putting in writing what is expected of each surface avoids these inconsistencies and gives the golf course fertiliser programme a common thread.
Step 3: Match the Calendar to the Growth Rhythm
Turf does not grow the same all year, and fertilising must follow that rhythm. In Mediterranean climates, warm-season species such as bermudagrass or paspalum concentrate their activity in the warm months; cool-season species such as ryegrass or bentgrass perform best in autumn and spring.
- Prioritise applications when the turf can use them, not when it is dormant.
- Split into smaller, more frequent applications on sand, where nutrients are lost quickly.
- Avoid large applications before heavy rain or periods of stress.
- Coordinate fertilising with aeration, overseeding and other operations that change demand.
A good golf course fertiliser programme has a flexible calendar: a base scheme is set and adjusted according to weather and turf response.
Step 4: Choose Fertiliser Types and Application Methods Wisely
There are quick-release, slow-release, foliar, organic and mineral fertilisers. None is better in general; each fits a context and has a different cost.
When choosing, ask yourself some simple questions:
- What speed of response do I need on this surface?
- What is the risk of loss through leaching or volatilisation?
- What equipment do I have to apply it uniformly?
- What restrictions does the club have on certain products?
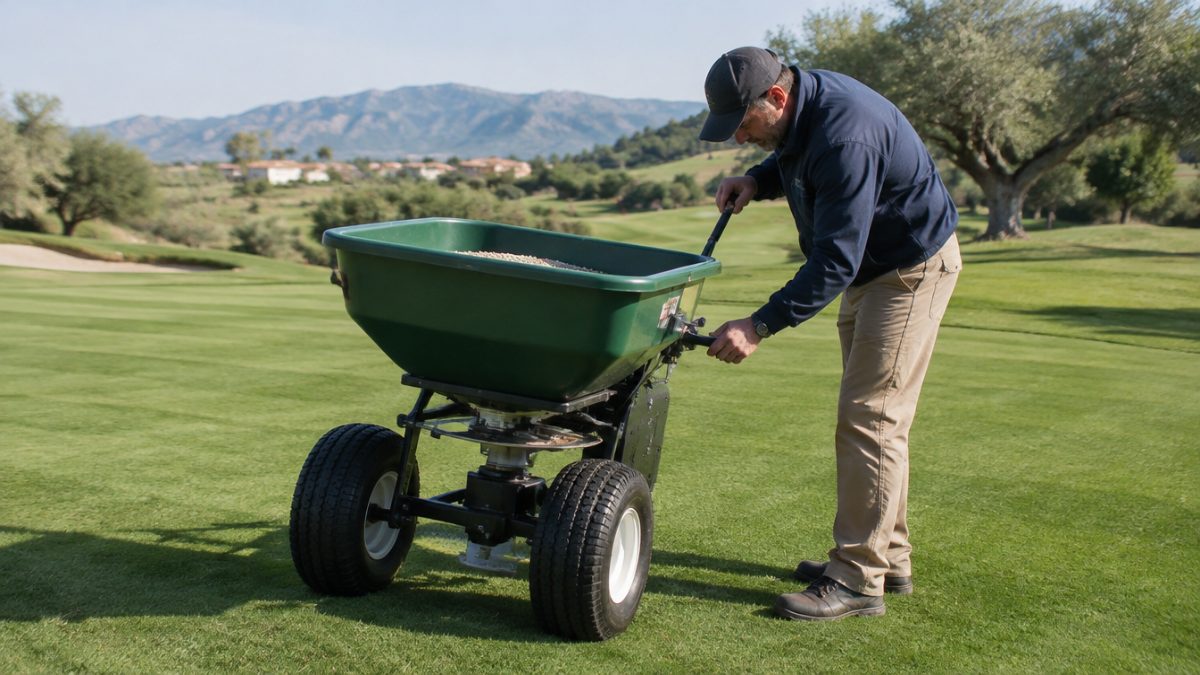
Also check the calibration of your application equipment. A fertiliser application that is perfect on paper can fail if the machine spreads unevenly. And remember that products must be used following the label, current regulations and the advice of an authorised technician.
Step 5: Record, Measure and Review the Golf Course Fertiliser Programme Every Season
The programme does not end when the last fertiliser is applied. To improve it you need information:
- Record date, area, product, application method and conditions on the day.
- Observe the response: colour, density, growth and behaviour under wear.
- Repeat soil tests at the same points and compare with previous ones.
- Hold an end-of-season review with the adviser and the team.
With this loop of diagnosis, application and review, the golf course fertiliser programme gets refined year after year. Clubs that document it well can justify their decisions to anyone who asks and spot sooner which areas are not responding.
Common Mistakes When Designing a Golf Course Fertiliser Programme
Some mistakes recur and are worth identifying early:
- Copying another course’s programme without considering soil, water and species.
- Fertilising to correct symptoms without finding the real cause, which may be compaction, moisture or disease.
- Concentrating applications on a few dates, risking losses and uneven growth.
- Ignoring the nutrient contribution of irrigation water or returned clippings.
- Forgetting the environmental implications: excess nutrients can end up in lakes or aquifers.
If you avoid these mistakes and keep an orderly record, your golf course fertiliser programme will be a living tool, not a paper filed away in September.
Further reading: FAO. The FAO offers general guidance on plant nutrition and the responsible use of fertilisers.
Frequently asked questions
How often should I review the golf course fertiliser programme?
At least once a year, at the end of the season, with the soil tests and application history on the table. It is also worth making small adjustments during the year according to weather, turf response and changes in operations. A flexible programme performs better than a rigid one followed automatically.
Can the same fertiliser programme be used for the whole course?
It is not recommended. Greens, tee boxes, fairways and rough have different objectives, species and demands, and often different soils. The sensible approach is to define a base scheme for each surface and adjust it with testing and observation. Applying the same to everything usually means overspending in some areas and falling short in others.
Who should take part in designing the fertiliser programme?
The head greenkeeper leads the design, supported by a technical adviser to interpret tests and products, and with input from the course team. It is also worth sharing the programme with management because of the budget impact. Any application must follow the label, current regulations and the advice of an authorised technician.
Keep reading
- Turf fertilisation step by step Turf Fertilisation: 6 Guidelines by Season
- Plant protection treatment records Pesticide Application Records: 6 Key Data Points
- Greenkeeper tasks in May Greenkeeper Tasks in May: 7 Key Jobs