
No product, however good, works well if the machine that spreads it is not ready. Sprayer calibration is the check that ensures flow rate, speed and nozzles deliver exactly what was planned onto the turf, no more and no less. It is a short task that protects the turf, the budget and the environment.
We explain a six-step method designed for golf course teams, from preparing the machine to the final record. We do not include product quantities: the rate is always set by the label, current regulations and the advice of an authorised technician; here we focus on getting the machine to apply precisely what has been decided.
Sprayer Calibration Step 1: Check the Machine Before Measuring
Calibrating a machine in poor condition is a waste of time, because the result will not hold. First of all, inspect the equipment thoroughly using clean water.
- Check there are no leaks in hoses, fittings, tank or pump.
- Verify that the pressure gauge works and reads sensible values.
- Check that the agitator moves the mix and the filters are clean.
- Make sure the boom is level and at the correct height above the turf.
Do this check wearing appropriate protective equipment and in an area set up for washing without risk of contaminating the surroundings. Without a reliable base, sprayer calibration makes no sense.
One detail that is often overlooked is the tank: clean it well and check that no residues from previous applications remain that could clog filters or contaminate the next mix. If the machine has been idle for a while, circulate clean water for a few minutes to purge the circuit before starting to measure.
Step 2: Check the Condition and Uniformity of the Nozzles
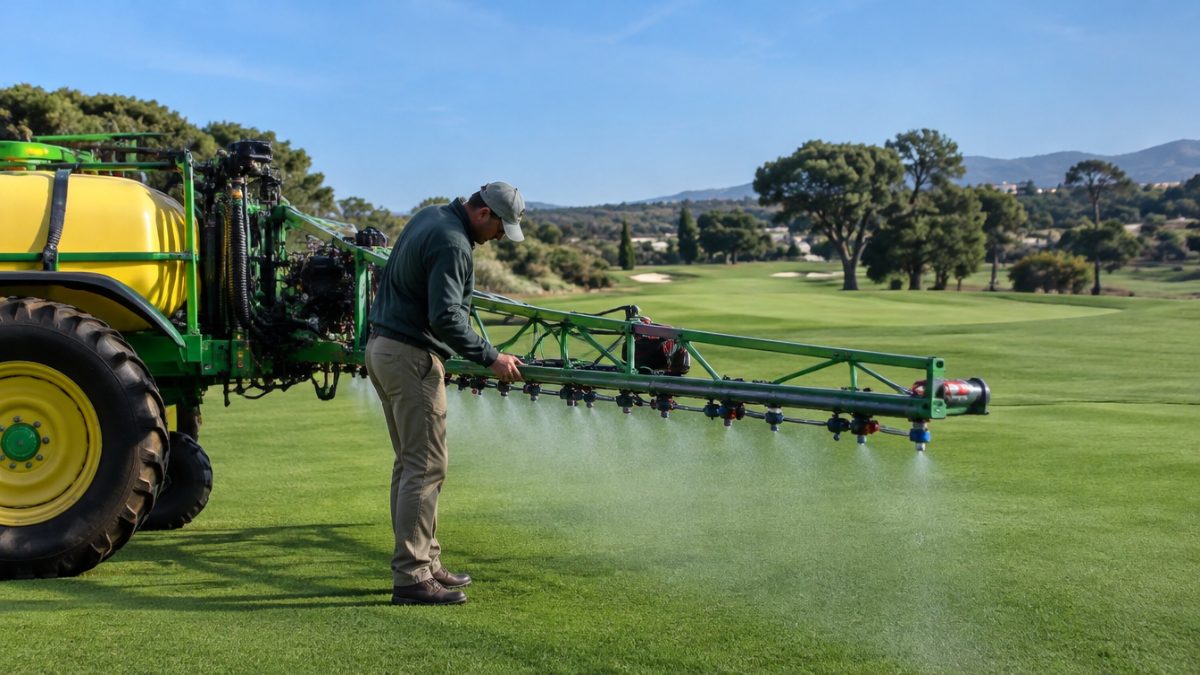
Nozzles are the part that most affects the application and the one that wears most. A worn nozzle gives more flow and a distorted pattern; a blocked one leaves uncovered strips. Check them one by one before calibrating.
- Fit all nozzles of the same model and size.
- Replace any with visible wear or an irregular pattern.
- Collect the output of each one over a fixed time and compare between them.
- Change any that deviate appreciably from the average, within the margins given by the manufacturer.
A good fan pattern, with no dripping or stray streams, is the foundation of any reliable sprayer calibration.
Step 3: Measure the Actual Travel Speed
Flow per hectare depends on speed. If the machine goes faster than planned, you apply less; if it goes slower, you apply more. Do not trust the speedometer or the driver’s feel: measure.
Mark out a known distance in an area similar to the working area, drive it with the tank carrying a load similar to the real one and time it. Repeat several times and take the average. Do it on the same terrain and with the same gear and engine speed you will use later, because a slope or soft ground changes the result.
This measurement is the part of sprayer calibration where most errors creep in, because each operator drives at their own pace; that is why the person who will do the application should repeat it. Note the gear, revs and speed obtained. For repeated operations, that record lets you reproduce the same conditions every time.
Step 4: Measure Flow Rate and Working Pressure
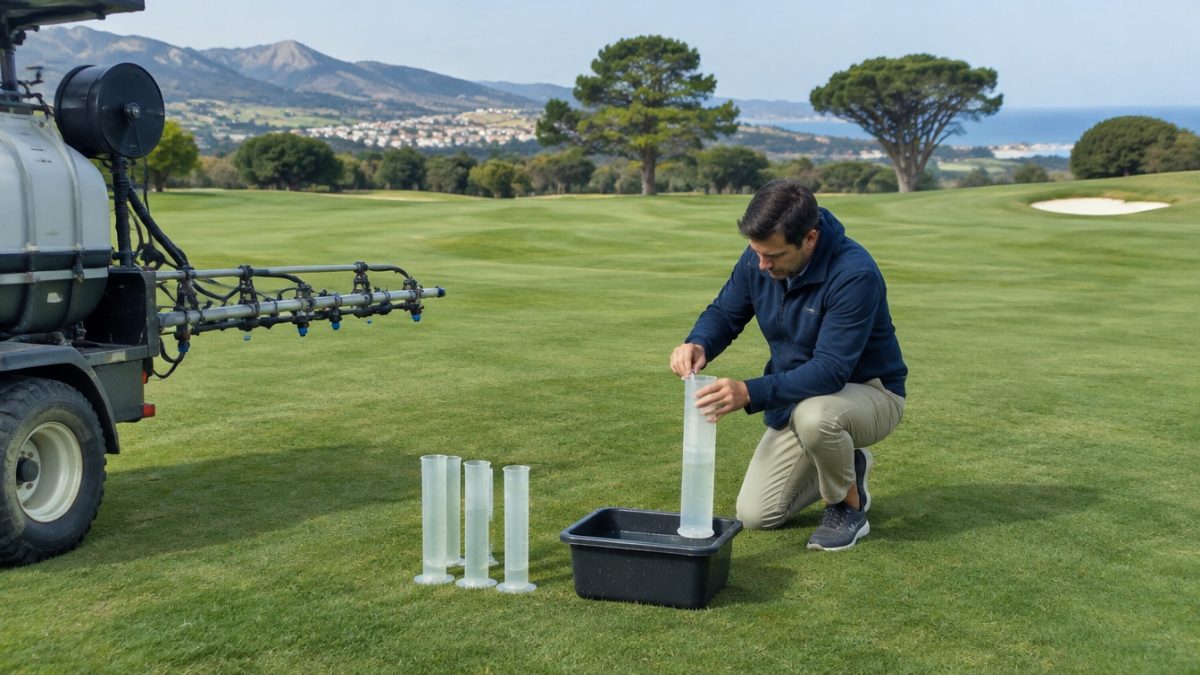
With clean water, work at the planned pressure and collect the total boom output over a timed period. Use graduated containers and several repetitions. Pressure must stay stable; if it fluctuates, there is a problem with the pump, regulator or filters.
- Record the pressure, collection time and volume obtained.
- Check whether there are differences between boom sections.
- Avoid changing pressure to adjust volume without thinking about how it affects droplet size and drift.
With speed and flow measured, sprayer calibration is defined by three data points that anyone on the team can understand and repeat. With them you can calculate the spray volume per unit area and compare it with what the application needs according to the product label.
Step 5: Adjust and Verify Sprayer Calibration with a Real Test
If the resulting volume does not match the desired one, adjust one variable at a time: nozzles, pressure within its recommended range or speed. After each change, repeat the measurement. Once the sprayer calibration figures add up, run a field test with water on a small area and observe.
Check that the overlap between passes is correct, that there are no dry strips or excess water, and that wind drift is not excessive. If the day is not suitable, it is better to postpone: a perfect calibration does not make up for an application in the wind. This step turns sprayer calibration into something verified and not just calculated.
Step 6: Record, Repeat and Link the Calibration to Each Treatment
A calibration that is not written down is forgotten. Record the date, machine, nozzles, pressure, speed, flow rate and who did it. That way, when you carry out a treatment, you can show which setup was used and repeat it without doubt.
Recalibrate whenever you change nozzles, after major repairs or at the start of each season, and periodically during intensive use. In treatment logbooks, the current sprayer calibration is part of traceability, together with the product, the area and the applicator.
- A record per machine with its latest calibration.
- A reminder for the next check based on hours of use.
- Cleaning and rinsing after each application, with proper handling of residues.
Further reading: MITECO. Spain's Ministry for the Ecological Transition and the Demographic Challenge (MITECO) offers general information on the sustainable use of plant protection products on its website.
Frequently asked questions
How often does sprayer calibration need to be done?
At a minimum at the start of each season and whenever you change nozzles, repair the pump or alter the usual pressure or speed. For heavily used equipment it is worth repeating it fairly regularly, because nozzle wear changes the flow without being visible to the naked eye.
Can I calibrate with product instead of water?
It is not recommended. Sprayer calibration is done with clean water to avoid unnecessary exposure, product waste and spills. The behaviour of water is very close to that of diluted spray mix. The product rate must always follow the label, current regulations and the advice of an authorised technician.
What are the most common mistakes when calibrating?
The most common are calibrating with worn nozzles, estimating speed instead of measuring it, changing pressure without thinking about the droplet and not recording the result. It is also common to calibrate on different terrain from the working area, which changes the machine's real travel speed.
Keep reading
- Preventive maintenance of machinery Preventive Equipment Maintenance: 7 Key Tasks
- Plant protection treatment records Pesticide Application Records: 6 Key Data Points
- Pesticide applicator licence Pesticide Applicator Licence: 5 Steps to Get It