
If one task separates a green that holds up from one that falls apart in summer, it is the aeration of greens. Even if the turf looks good on top, below the surface the roots need oxygen, drainage and space. Without that ventilation, black layers, waterlogging and turf that gets harder to maintain every year appear.
We review six techniques for aeration of greens, what each is for and how to combine them in a reasonable annual programme. You will also see how to decide the timing, how to minimise the impact on play and how to record the task so you can evaluate the results.
Understand what aeration of greens is for
Aerating is not making holes out of tradition. Each intervention pursues one or more objectives, and they should be clear before choosing the machine, tine or depth.
- Decompacting: reducing the soil’s resistance to the passage of roots and water.
- Gas exchange: letting oxygen in and toxic gases out of the root zone.
- Controlling organic matter: diluting or removing thatch that builds up at the surface.
- Improving infiltration: helping rain and irrigation water move evenly.
Once the main problem is identified, it becomes easier to decide which type of aeration of greens to apply and how intensively.
Technique 1: solid tining to maintain through the season
Tining with fine, shallow solid tines is the technique most gentle on play. It opens channels without removing material, so the surface recovers within a few days. It is ideal for maintaining oxygenation between major aerations and for dealing with isolated problems, such as a surface layer that seals after rain.
- It can be carried out more often than other techniques.
- It better preserves the speed and consistency of the green.
- Its effect is more limited in depth and volume, so it does not replace the others.
Technique 2: hollow-tine aeration with material removal
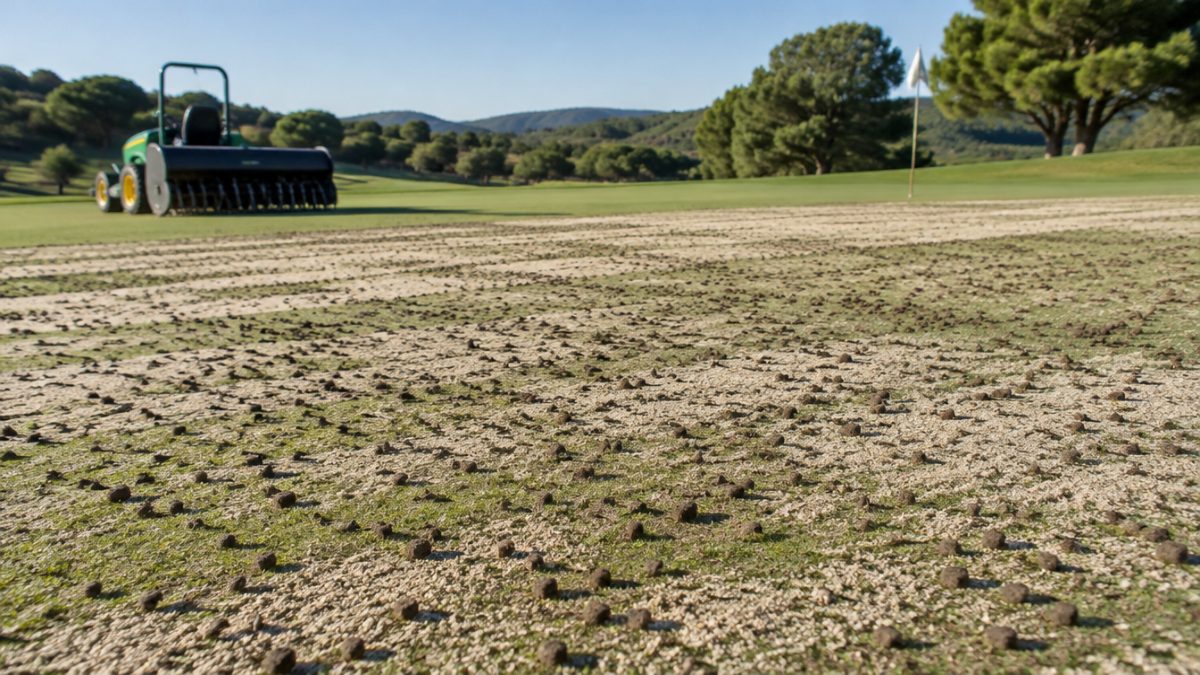
The hollow tine extracts a core of soil and lets you remove organic matter and replace it with sand. It is the most effective technique for dealing with thatch and truly improving the properties of the profile. In exchange, it is the most invasive: it leaves visible holes and requires a recovery period.
- Choose the diameter and spacing according to the objective and the club’s tolerance for disruption.
- Remove the cores and fill the holes with dry sand, brushing it in well.
- Irrigate to settle it and watch recovery over the following days.
It is usually scheduled during periods of active growth, so that the turf closes the holes quickly.
One detail that gets forgotten: the removed cores need to be dealt with promptly, because when dry they break up and scatter, and when wet they dirty machines and boots. Planning trailers, staff and where the material will go before starting the aeration of greens keeps the day from running long and the course from being left with piles in view when the first players arrive.
Technique 3: deep aeration for compacted layers
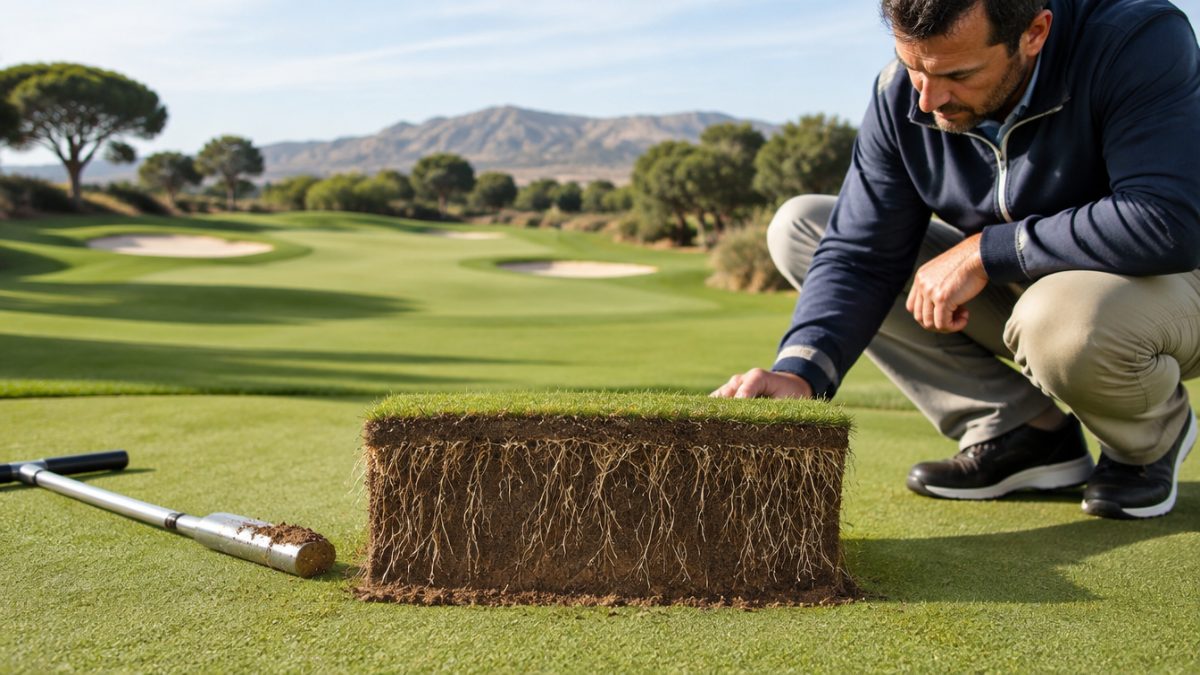
When the problem is not in the first few centimetres but in deeper layers, an aeration of greens that reaches further down is needed. Deep-tine equipment fractures the profile and breaks up compacted strata, improving drainage and deep rooting.
- Useful on older greens, with distinct layers or with persistent drainage problems.
- Requires knowledge of the green’s profile: it pays to rely on soil pits or prior analysis.
- Usually carried out at times of lower playing demand and with a good recovery margin.
It is an intervention that should be planned well ahead, communicated to the club and carried out by trained staff. A frequent example: a green that has gone more than a decade without renovation and drains poorly after rain, where well-executed deep aeration visibly improves infiltration the following season. As with any aggressive aeration of greens, the key is not to rush and to allow time for recovery before intervening again.
Technique 4: injection or vibration aeration
There is equipment that aerates using pressurised water jets or vibrating tines that fracture the soil with less surface disturbance. They are interesting options when you want to ventilate the profile without leaving holes, for example close to an event or at times of heavy traffic.
- Lower impact on the playing surface.
- Need for specific equipment, which can be hired or contracted as a service.
- Results that depend on the soil type and moisture content at the time of the task.
Technique 5: combine with sand, scarifying and irrigation
Aeration of greens delivers more when integrated with other tasks. A hollow-tine aeration followed by topdressing to fill the holes improves the structure of the profile over time. Well-planned scarifying or verticutting complements thatch control. And proper irrigation after the task settles the sand and helps recovery.
- Define the order of tasks and the intervals between them.
- Adjust fertilising to support recovery, without overdoing it.
- Avoid chaining aggressive tasks when the turf is under stress.
Technique 6: plan the calendar and record every aeration
There is no single calendar. It will depend on the species, the climate and how the course is used. As a rough guide, the most invasive aerations are done when the turf is growing vigorously, and light ones are spread throughout the year. What matters is to set a plan, communicate it and evaluate.
- Note the date, type of aeration, depth, spacing and material applied.
- Record the recovery time and the green’s response in the following weeks.
- Compare with previous campaigns to adjust the strategy.
That history is what turns a one-off aeration of greens into a programme that improves year after year.
Further reading: USGA. The USGA offers general guides on the construction and management of greens and on aeration practices that serve as a technical reference.
Frequently asked questions
When is the best time for aeration of greens?
As a rough guide, during periods of active turf growth, so that it recovers quickly. For warm-season species this is usually spring or early summer; for cool-season species, autumn and spring. Avoid periods of intense heat stress, persistent rain and major events without a recovery margin.
How many times a year should a green be aerated?
There is no figure valid for everyone. It depends on the soil type, species, traffic and accumulated organic matter. The usual approach is to combine one or more more invasive aerations with light tining spread through the season. It is best to adapt the programme after analysing the profile and evaluating the results.
Does aeration of greens affect play?
Yes, to a greater or lesser degree depending on the technique. Hollow-tine aerations leave holes and temporarily reduce speed, while solid tining or vibration disturb the surface less. Notifying members and players, and scheduling the task well, helps aeration of greens be accepted as a necessary part of maintenance.
Keep reading
- Thatch in greens: how to control it Thatch in greens: 6 warning signs and how to reduce it
- Soil compaction: detection and solutions Soil Compaction: 5 Causes and Fixes on Golf Courses
- Turf aerators: how to choose the equipment Turf Aerators: 5 Types and When to Use Each