
Green turf is looked after with water, nutrients and aeration, but also with something as specific as a well-sharpened reel. Good reel sharpening makes the difference between a leaf cut cleanly and a torn leaf that browns, dries at the tips and opens the door to disease.
In this article we go through six steps to plan sharpening, which signs show the time has come, how to check the result and how to keep a record of each intervention to anticipate fleet wear.
Step 1: recognise the signs of a dull reel
Before sharpening, it helps to know when to do it. The signs usually appear in the turf and on the machine:
- Whitish or greyish leaf tips a few hours after mowing.
- Torn or pulled leaves, rather than cleanly cut.
- Poorly defined stripes and a “hairy” surface look.
- Marks per pass or bands of different height on the same green.
- Unusual noise or vibration in the cutting unit.
Do not wait for the players to notice. A weekly visual check of the cut, in low-angle light first thing in the morning, detects the problem before it damages the turf.
Comparing the look of the cut between units also helps: if one of them leaves the surface different, its reel sharpening is probably further behind than the rest. Photograph the cut of each unit and compare it with the previous week.
Step 2: choose the right reel sharpening method
In reel sharpening there are two complementary practices. Face grinding restores the edge of the reel blade and the bedknife; relief grinding recovers the profile of the reel blades when wear has deformed them. Each plays a different role.
As a general criterion:
- Regular maintenance with light sharpening keeps the edge and extends service life.
- Relief grinding is reserved for when the blade profile is no longer correct.
- If wear is excessive, consider replacing the reel rather than forcing repeated sharpening.
Always consult the manufacturer’s manual and your mechanic’s guidance on procedures and tolerances.
Step 3: prepare and clean the unit before starting
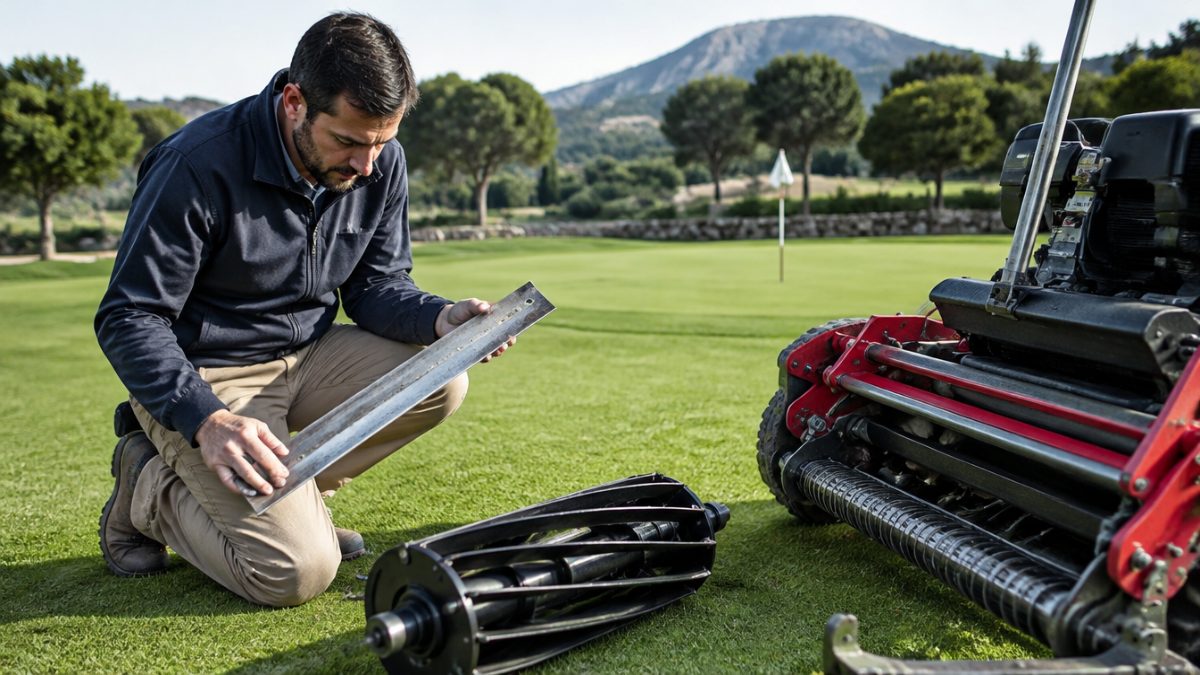
Quality sharpening starts with a clean, checked unit. Remove turf and soil debris, check bearings, play and the condition of the bearing races, and verify that the reel turns freely. A bearing with play produces uneven sharpening, however good the grinding equipment.
Also check the rear roller and the cutting height, because any mechanical deviation carries through to the final result. This is the time to replace worn parts, not after sharpening.
Spend a moment on workshop cleanliness too. Abrasive dust and burr debris contaminate grease and bearings, and ruin the most careful reel sharpening within a few weeks.
Step 4: adjust the bedknife precisely
A clean cut comes from the contact between reel and bedknife. If contact is excessive, wear, heat and consumption increase; if it is insufficient, the cut tears. The goal is usually a light, uniform contact along the whole reel, with the adjustment the manufacturer recommends.
A common check is to slide a thin strip of paper between the two parts and verify that it cuts cleanly along the full length. Repeat it at several points on the reel and do not forget to recheck after sharpening, because initial wear changes the contact.

Step 5: check the result before going out on the course
Reel sharpening does not end when the machine is switched off. Verify the result before using it on a green:
- Do a cutting test on a low-priority area and look at the leaf.
- Check the real height with the measuring tool.
- Check there are no vibrations or strange noises.
- Note who did it, when and which adjustments were applied.
This small routine avoids discovering a problem in mid-morning, with the course already partly mown and the units uneven.
If the result is not convincing, do not mask it by raising the height or tightening the bedknife. Go back to the reel sharpening, find the cause and correct it before the machine goes out to work.
Step 6: plan the frequency and keep a history
The ideal frequency of reel sharpening depends on hours of use, the sand present on the course, the cutting height, the species and the quality of maintenance. A course with a lot of surface sand, for example, wears blades faster.
Instead of sharpening by the calendar, combine two criteria: operating hours and the observed quality of the cut. Then record for each cutting unit:
- Date and type of sharpening.
- Hours of use since the last one.
- Worn material or parts replaced.
- Cutting problems detected.
With that history, you will know when to replace reels and bedknives, and you can budget for it in advance. Reel sharpening thus moves from being a reactive task to one more piece of the fleet’s preventive maintenance.
Common mistakes that ruin good sharpening
Even with good procedures, it is easy to fall into repeated mistakes:
- Over-tightening the bedknife thinking it will cut better, when it only speeds up wear.
- Sharpening without first checking bearings and play.
- Letting sand and dirt build up in the units.
- Mixing units with different degrees of wear on the same green.
- Not training operators to spot a faulty cut.
Reel sharpening is an investment in time, but also in prevention, and a good reel sharpening programme shows on the course. Every hour spent keeping the tool in good order translates into less stress for the turf, fewer repairs and a more uniform surface. And if you are unsure whether to sharpen or replace, compare the cost of the repair with that of a new part and with the hours you will lose.
Further reading: GCSAA. Organisations such as the GCSAA offer training and resources on equipment maintenance and cut quality for professionals.
Frequently asked questions
How often should reel sharpening be done?
There is no universal frequency. It depends on hours of use, the sand on the course, the cutting height and the condition of the turf. The best approach is to combine hour tracking with visual inspection of the cut, and sharpen when torn leaves or whitish tips appear after the machine passes.
What is the difference between face grinding and relief grinding?
Face grinding restores the edge of the reel blades and the bedknife, and is the most common maintenance. Relief grinding corrects the blade profile when wear has deformed it. They complement each other and should be done according to the manufacturer's manual.
Can reel sharpening be done on site at the course?
Yes, if the club has the grinding equipment and a trained mechanic. It is an advantage because it allows quick action and detailed tracking of each unit. If you lack the means, you can use a qualified outside service, always with clear follow-up on the condition of each reel.
Keep reading
- replacing the machinery fleet Replacing the machinery fleet: 6 key decision factors
- mowing height by course zone Mowing height: a complete guide by course zone
- thatch in greens: warning signs Thatch in greens: 6 warning signs and how to reduce it