
Just walk the edge of any green with the greenkeeper to see where the problem is: the green collar is the strip that suffers most and gets the least attention. Machine turns, entries and exits from the green, balls that land short and players stepping on it on the way to the flag are all concentrated in barely a metre of width.
In this article we review five care tasks that on many courses are done late, halfway or not at all, and that make the difference between a collar that supports the green and one that penalises it. All are practical, low-cost and easy to organise with the crew you already have.
Give the green collar its own mowing height
Many courses mow the collar at a height somewhere between green and apron without ever having decided it: it is simply the one left set on the machine. The result is usually an uneven collar, with scalped areas and others too high where the ball slows for no reason.
It pays to set a height specific to the green collar and document it. As a rough guide it sits above that of the green and below that of the apron, so that the visual transition is clean and the ball, when rolling over it, does not change speed abruptly.
- Define a single mowing height per species and time of year.
- Check the reel settings before each height change, not after.
- Avoid always mowing in the same direction: alternate directions to avoid creating grooves.
Rotate machine entry points and spread the traffic
The greatest damage to the collar comes not from play but from machinery. Each time the greens mower turns at the end of a pass, it puts its weight on a tiny strip. If it always enters and exits at the same point, that point ends up bare, compacted or with weakened turf.
Set at least two or three access points per green and rotate them on a schedule. For mowing the collar itself, use a different route from the one followed on the green. And do not forget foot traffic: ropes, stakes or simple temporary signage help stop players always crossing at the same spot.
- Mark the usual entry and exit points of each green on a plan.
- Assign a rotation order and communicate it to the crew.
- Change the reference at the first sign of stress, not when there is already bare soil.
Control the organic layer in the green collar
Although there is a lot of talk about thatch on the green, the collar usually has a different organic layer, often thicker, because it receives fewer operations than the green and more fertiliser than the rough. An excessive layer holds water, encourages disease and makes the turf tear out easily when mowing.
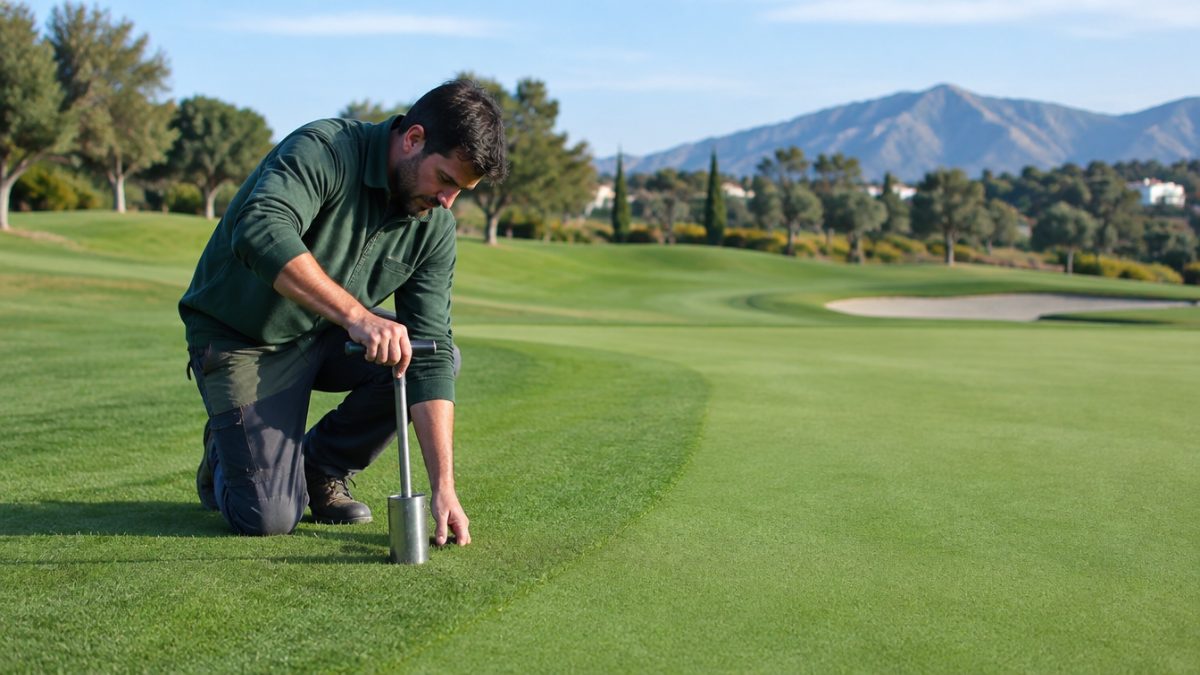
Include the green collar in your tining, light verticutting and top-dressing programmes, even at a lower intensity than on the green. Measure the thickness of the layer with a plug cutter from time to time; it is a five-minute check that avoids surprises in the middle of summer.
- Carry out aeration in the same windows as the green, adapting the depth.
- Apply sand lightly and repeatedly if the layer is growing.
- Avoid fertilisation that pushes excessive vegetative growth at the edge alone.
Relieve compaction where it is walked on most
A heavily trodden green collar is a compacted collar. The lack of pores reduces oxygen in the root zone, water ponds or runs off without penetrating and the turf loses density. It is common to see the outer edge dry out before the centre of the green, especially on slopes.
Mechanical aeration with solid or hollow tines is the main ally, but it is also worth checking irrigation on that strip. A sprinkler that wets the edge too little, or too much, aggravates the problem and is mistaken for a lack of fertiliser.
- Schedule specific collar aerations after periods of heavy play.
- Check the irrigation uniformity around the perimeter of the green.
- Adjust the frequency according to soil texture and actual traffic.
Watch the transition between green, collar and apron
The collar is a contact zone between species or varieties: often the green is one species, the collar another and the apron a third. That mix causes invasions, irregular edges and colour patches that the player notices immediately, even if they cannot explain them.
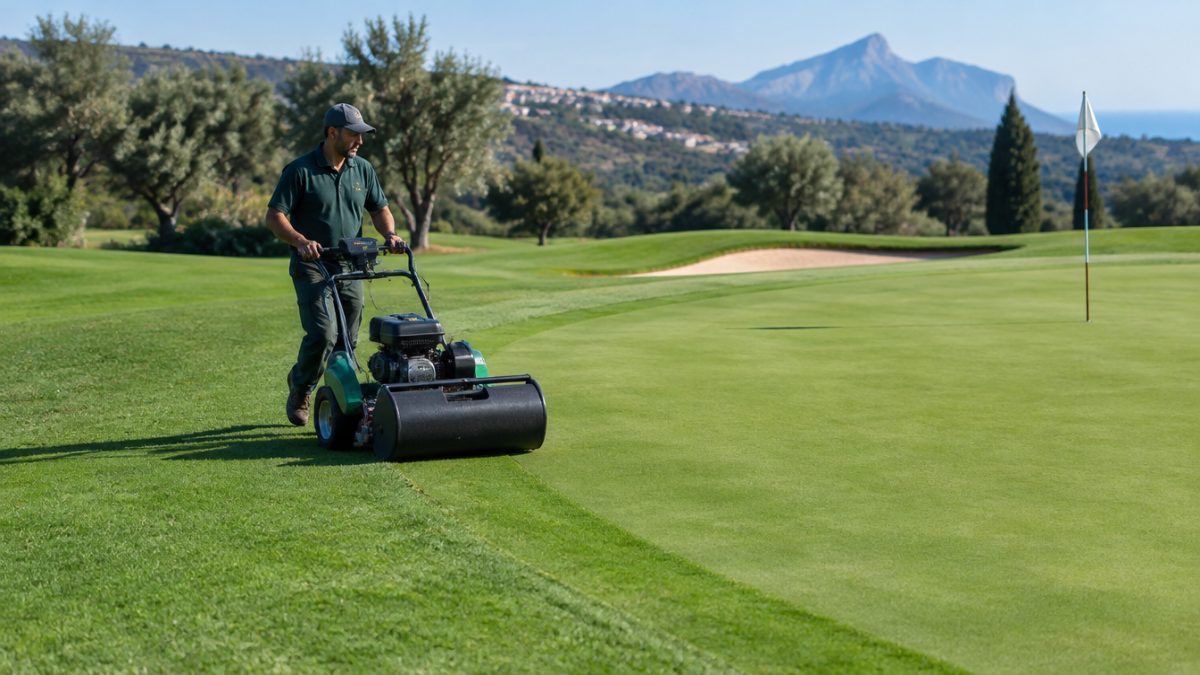
Every few weeks, check the line of contact with the green, looking closely. Carefully cut any stolons or rhizomes creeping into the green and repair gaps with sod from the course itself before weeds take them over. It is cheaper to correct a line than to rebuild a stretch.
- Trim edges with a suitable tool, without damaging the green.
- Reseed or replant gaps as soon as you spot them.
- Keep a photographic record of how the edge evolves.
Record and review what you do on the green collar
The underlying reason the green collar is neglected is simple: nobody records the work devoted to it. It is mowed, irrigated and fertilised, but rarely is there a record of what was done, when and how much time it took. That makes it impossible to know whether the collar gets half the attention of the green or double.
It is enough to record, by green and by strip, the operations carried out and the hours spent, and to review them each month. That information lets you justify decisions to the green committee, plan the distribution of tasks better and quickly spot greens whose edge is falling behind.
Further reading: USGA. The USGA publishes reference technical criteria on maintaining greens and transition areas that can guide your planning.
Frequently asked questions
What height should the green collar be mowed at?
There is no universal figure, but as a rough guide the green collar is mowed slightly above the green and below the apron. What matters is that it is a fixed, documented height adapted to the species and season, so the ball does not change behaviour when rolling from one stretch to another.
Why does the edge of the green dry out before the centre?
It is usually due to a combination of compaction, slope and uneven irrigation around the perimeter. The green collar also receives more traffic and more machine turns, so its root system is weaker. It pays to aerate, check sprinkler uniformity and irrigate with judgement on that strip.
How often should the green collar be aerated?
It depends on traffic, soil texture and species, but the sensible approach is to include it in the same operations calendar as the green, at somewhat lower intensity. If the collar takes a lot of machine and player traffic, reinforce it with occasional aerations between the main operations.
Keep reading
- How to control thatch on greens Thatch in greens: 6 warning signs and how to reduce it
- Mowing height: adjustment criteria Mowing height: a complete guide by course zone
- Soil compaction: how to detect and correct it Soil Compaction: 5 Causes and Fixes on Golf Courses